


My Favorite Needle Felting Tool
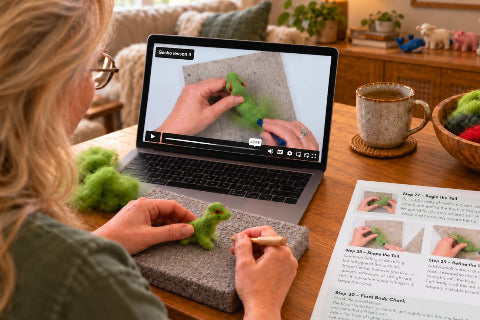
For many years, I needle felted for hours at a time—often most of the day.
Because I usually work with a single felting needle, finding a comfortable way to hold it became pretty important.
When I first started, I simply held the bare needle between my fingers. That worked, but after hours of felting my fingers would ache.
So I experimented.
I tried dipping the end of the needle in Plasti Dip. It helped a little, but eventually the coating started falling apart.
My husband made several wooden handles for me, but no matter what size we tried, they always felt awkward in my hand.
I purchased other needle holders too, but I kept going back to the bare needle because I liked the control.
Then one day I realized something:
A pen is already designed to feel comfortable in your hand.
That gave me an idea.

Make a Felting Needle Holder From an Old Pen
This simple little tool became one of my favorite ways to hold a single felting needle.
You only need:
- A pen that screws apart
- A felting needle
- A small amount of wool
- A narrow blunt tool for packing the wool into the pen
Not every pen will work, so you may need to experiment with a few different styles.
Step 1: Find the Right Pen

Look for a pen that screws together rather than one that simply snaps apart.
The opening at the writing end also needs to be large enough for the felting needle to pass through while still keeping it positioned straight.
The pen shown here was one of my favorites.

Step 2: Take the Pen Apart

You should be left with the outer pen body.
Step 3: Insert the Felting Needle

Look carefully at the needle from several angles.
It should come straight out of the pen.
If the opening pushes the needle to one side or causes it to sit at an angle, try another pen.
This is important because felting needles are brittle. Working with the needle at an angle can put unnecessary pressure on it and make it more likely to break.

Step 4: Pack Wool Around the Needle

Take a small amount of wool and pack it firmly into the pen body around the upper end of the felting needle.
The wool acts as padding and helps hold the needle securely in place.
Use a narrow blunt tool to push the wool down firmly. Avoid using anything that could damage the felting needle or force it sideways.
Continue adding and packing wool until the needle feels secure and does not wobble inside the pen.

Step 5: Put the Pen Back Together

Lorem ipsum dolor sit amet, consectetur adipiscing elit, sed do eiusmod tempor incididunt ut.


