
Needle Felting Tips for Beginners: 8 Things That Make It So Much Easier
Needle felting looks pretty simple.
Take some wool. Poke it with a felting needle. Make something.
And technically, that’s true.
But after teaching needle felting for years, I’ve noticed that beginners often struggle with the same few things—not because needle felting is terribly difficult, but because no one told them some of the little things that make a big difference.
If your wool won’t get firm, your shapes keep growing too large, your surface stays fuzzy, or you’re breaking needles, these are the things I would look at first.

1. The Wool You Choose Really Does Matter
One of the biggest surprises for new felters is that all wool does not behave the same way.
Different sheep breeds produce fibers with different amounts of crimp, texture, length, and fineness. The way that wool has been prepared matters too.
For three-dimensional sculpture, I want wool that grabs onto itself readily, becomes firm, and holds the shape I’m trying to create.
That is one reason I love working with the Romney-based wool from our own flock.
Very fine wool such as Merino can certainly be needle felted, but in my experience it often takes longer to get as firm as I like for sculptural work.
If you’ve been poking and poking and your project still feels soft, your technique may not be the only thing involved.
The fiber itself matters.
2. Wool Preparation Matters Too
You’ll see lots of words used when shopping for fiber: roving, top, batt, sliver, carded wool.
They aren’t all the same thing.
At Bear Creek Felting, we prepare our wool as carded sliver.
The wool has been opened and carded into a continuous length that I can easily pull apart, wrap, layer, blend, and shape.
That works especially well for the way I needle felt.
Combed top, where the fibers are very neatly aligned, can behave quite differently. It can certainly be felted, but I find carded wool much easier to build with for three-dimensional sculpture.
So when two fibers look similar but feel completely different under your needle, preparation may be part of the reason.
3. Start Smaller Than You Think
This is a big one.
Beginning felters often start with too much wool.
Remember: you can always add more.
It is much harder to take a large, loosely felted shape and somehow make it considerably smaller.
If I’m building a body, head, or other basic shape, I usually begin smaller than the finished size I want. Then I felt it firmly and gradually build outward.
Think of it like sculpture in layers rather than trying to make the finished shape in one step.

4. Get the Inside Firm Before Worrying About the Outside
A smooth surface starts with a solid structure underneath it.
If the center of your sculpture is still soft and squishy, continuing to poke at the outside usually isn’t going to give you the firm, polished result you want.
Build your basic shape first.
Felt it firmly.
Then add smaller amounts of wool to adjust proportions, create contours, and refine the surface.
This is one of the most important differences between a sculpture that holds its shape and one that always feels a little mushy.
5. Your Felting Needle Has a Job
There isn’t one perfect felting needle for everything.
Needles vary by gauge, shape, and barb configuration, and those differences change how they move wool.
I use different needles for different jobs.
For example, a 36 Star is one of my workhorse needles for shaping and firming our wool. Other needle styles help with things like creating eye sockets, refining surfaces, working on very firm felt, or pulling fibers outward for fur.
You don’t need a huge needle collection when you’re starting.
But if you’re struggling, sometimes changing the needle makes a much bigger difference than simply poking harder with the one you already have.
6. Poke Straight In—and Straight Out
Felting needles are extremely sharp, but they’re also fragile.
One of the easiest ways to break a needle is to put it into the wool at one angle and pull it back out at another.
Develop this habit early:
Straight in. Straight out.
And always pay attention to where your fingers are.
I know needle felting can become relaxing enough that you almost stop thinking about the repetitive motion, but the needle still deserves your attention.
7. Add Wool in Thin Layers When Refining
Once your sculpture has the basic shape, resist the temptation to cover a problem with a huge wad of wool.
Add small, thin amounts instead.
A little wool can:
- Fill a low spot
- Round a cheek
- Build a shoulder
- Change the angle of a forehead
- Smooth a transition
- Correct a proportion
Felt that layer into place and then look at the sculpture again.
This gradual approach gives you much more control.
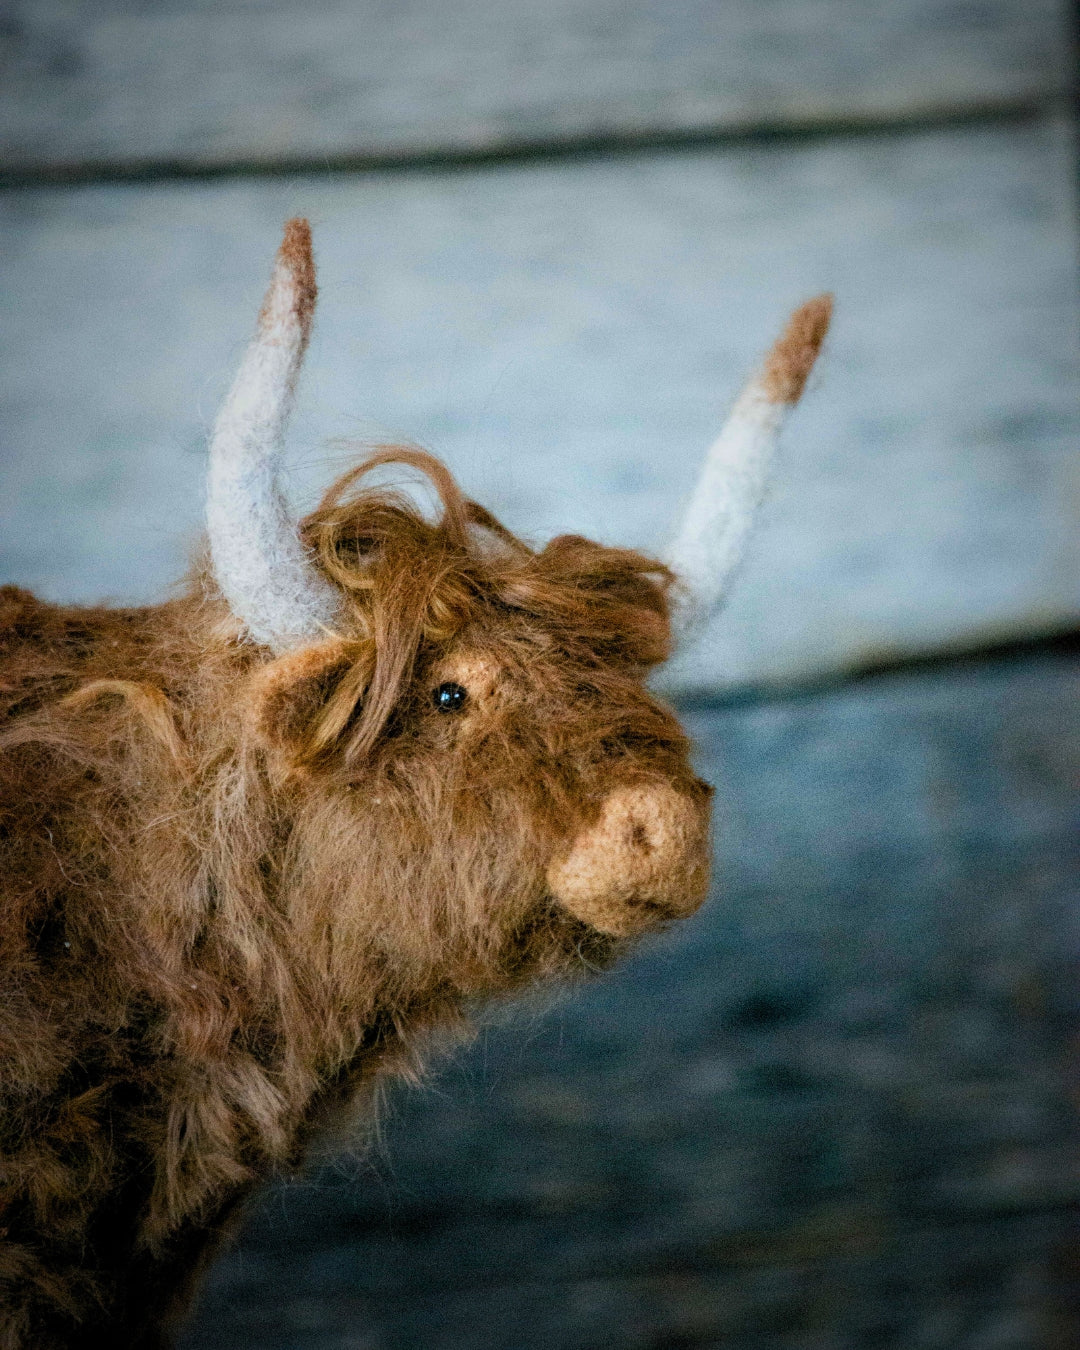
It is also one of the ways I get the firmer, smoother surfaces you see on my finished animals.
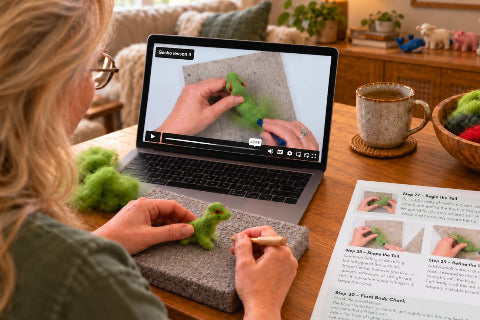
8. Needle Felting Takes Longer Than the Video
This may be the thing beginners need to hear most.
A 20-minute tutorial does not mean the project takes 20 minutes to make.
Video instruction is edited. Repetitive felting is shortened. Sometimes hours of work are condensed into a few minutes.
That doesn’t mean you’re slow.
Detailed needle felting simply takes time.
And the more advanced the sculpture becomes, the more time you’ll spend refining proportions, expressions, markings, and tiny details.
Instead of measuring your progress by how fast you finish, look at what you learned along the way.
When Something Isn’t Working, Don’t Just Poke Harder
If your project isn’t turning out the way you hoped, stop for a moment and ask:
Is my wool appropriate for what I’m trying to do?
Am I using the right needle?
Is the shape firm enough underneath?
Did I begin with too much wool?
Am I adding too much at once?
Usually there is a reason a project is fighting you.
Learning to diagnose those little problems is part of becoming a better needle felter.
And once you understand how the wool, needle, and building process work together, needle felting becomes much more predictable—and a lot more enjoyable.
Keep Building Your Skills
You don’t have to learn everything at once.
Start with a simple project and concentrate on building firm shapes. Then work on smoother surfaces. After that, begin studying proportions, expressions, different needles, armatures, and more advanced techniques.
That is exactly how skills grow.
And if you’d like structured projects and step-by-step video instruction as you progress, the Bear Creek Needle Felting Academy gives you a place to keep learning, ask questions, and share your work with other felters.
But wherever you learn, remember this:
Better needle felting usually doesn’t come from poking harder. It comes from understanding your wool and building your sculpture one thoughtful layer at a time.
Lorem ipsum dolor sit amet, consectetur adipiscing elit, sed do eiusmod tempor incididunt ut.