
Can I make a felting needle?
Can I make a felting needle?
If you’ve ever wondered whether you can make your own felting needle, you’re not alone! While felting needles may look like simple tools, they are highly specialized and not as easy to make as they might appear. Let’s break down what makes a felting needle unique and why it’s essential for your needle-felting projects.
What Is a Felting Needle?
Unlike regular sewing needles, felting needles have tiny notches or barbs along their tips. These notches are what make needle felting possible, allowing you to join and tangle wool fibers as you poke the needle into the material. Felting involves repeatedly stabbing wool with these specialized needles to create sculptures or flat designs.
Think of it as crafting a stuffed toy without the sewing or stuffing! Each time you poke the needle into the wool, the notches catch the fibers and pull them together, creating a firm, matted structure. The more you poke, the firmer your piece becomes.
Why Can’t I Use a Regular Sewing Needle?
Sewing needles are smooth and lack the notches needed for felting. Even if you try a large sewing needle, it won’t properly interlock the fibers. Over time, you’ll find that it simply can’t handle the process.
Felting needles are designed specifically for this purpose, with variations in size, shape, and notch placement to suit different felting techniques.

Types of Felting Needles
Felting needles come in different gauges and shapes, and each one behaves a little differently in the wool.
Triangle: A triangular-shaped needle with barbs positioned along its three working edges. This is a good dependable, all-purpose felting needle.
Star: A star-shaped needle with additional working edges, allowing it to grab more fibers with each poke. I use star needles often because they felt quickly and efficiently.
Cross Star: Similar to a star needle but designed to engage the wool aggressively from multiple directions. These are especially useful when you want to firm up wool more quickly.
Twist: The working portion of the needle twists, allowing the barbs to engage the fibers from slightly different directions as you felt. This can help create an even, smooth finish.
Crown: The barbs are concentrated near the tip of the needle, making it useful for controlled surface work and fine details.
Reverse: The barbs face the opposite direction from a standard felting needle. Instead of pushing fibers into the project, the needle pulls fibers toward the surface, which is useful for creating fur, fuzz and other textures.
Gauge: Gauge refers to the thickness of the needle. Lower numbers are thicker needles, while higher numbers are finer. I use several different gauges depending on how firm the project has become and the kind of detail I am working on.
Choosing the Right Felting Needle
If you’re new to needle felting, the variety of needles might feel overwhelming. Here’s a quick guide:
- Thicker Needles: Best for initial shaping and working with coarse wool.
- Finer Needles: Perfect for adding detail and working with fine wool.
- Star-Shaped Needles: These are some of my go-to needles because their additional working edges grab the wool efficiently and help the felting process move along quickly.
Caring for Your Felting Needles
Felting needles may be thicker than sewing needles, but they’re still delicate and can break easily. Here’s how to avoid common mishaps:
- Always poke the needle straight in and out at the same angle. Twisting or bending can cause it to snap.
- Don’t force the needle if it’s hard to push into the wool. This could mean your needle is dull, or you might need a finer one.
- Replace dull needles to maintain efficiency. Working with wires or on firm projects can dull needles faster.
Ready to Start Felting?
For all your felting needs, visit our online shop! We offer a wide range of felting needles, needle holders, and 100% natural wool in various colors. Whether you’re creating detailed animal sculptures or experimenting with new designs, our sampler kits and supplies will help you bring your ideas to life.
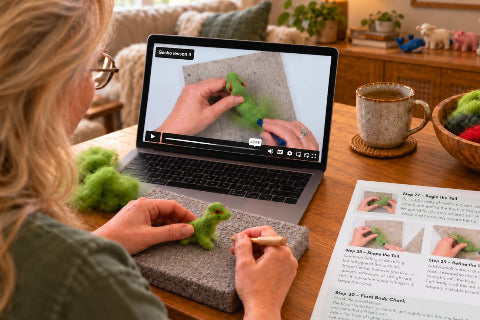
And if you’re ready to take your skills to the next level, join our Bear Creek Felting Academy! You’ll get access to step-by-step courses, expert tips, and a supportive community to guide you in creating felted animals full of personality.
Start your needle-felting journey today with the right tools and knowledge. Happy felting!

Join the Bear Creek Needle Felting Academy today!


