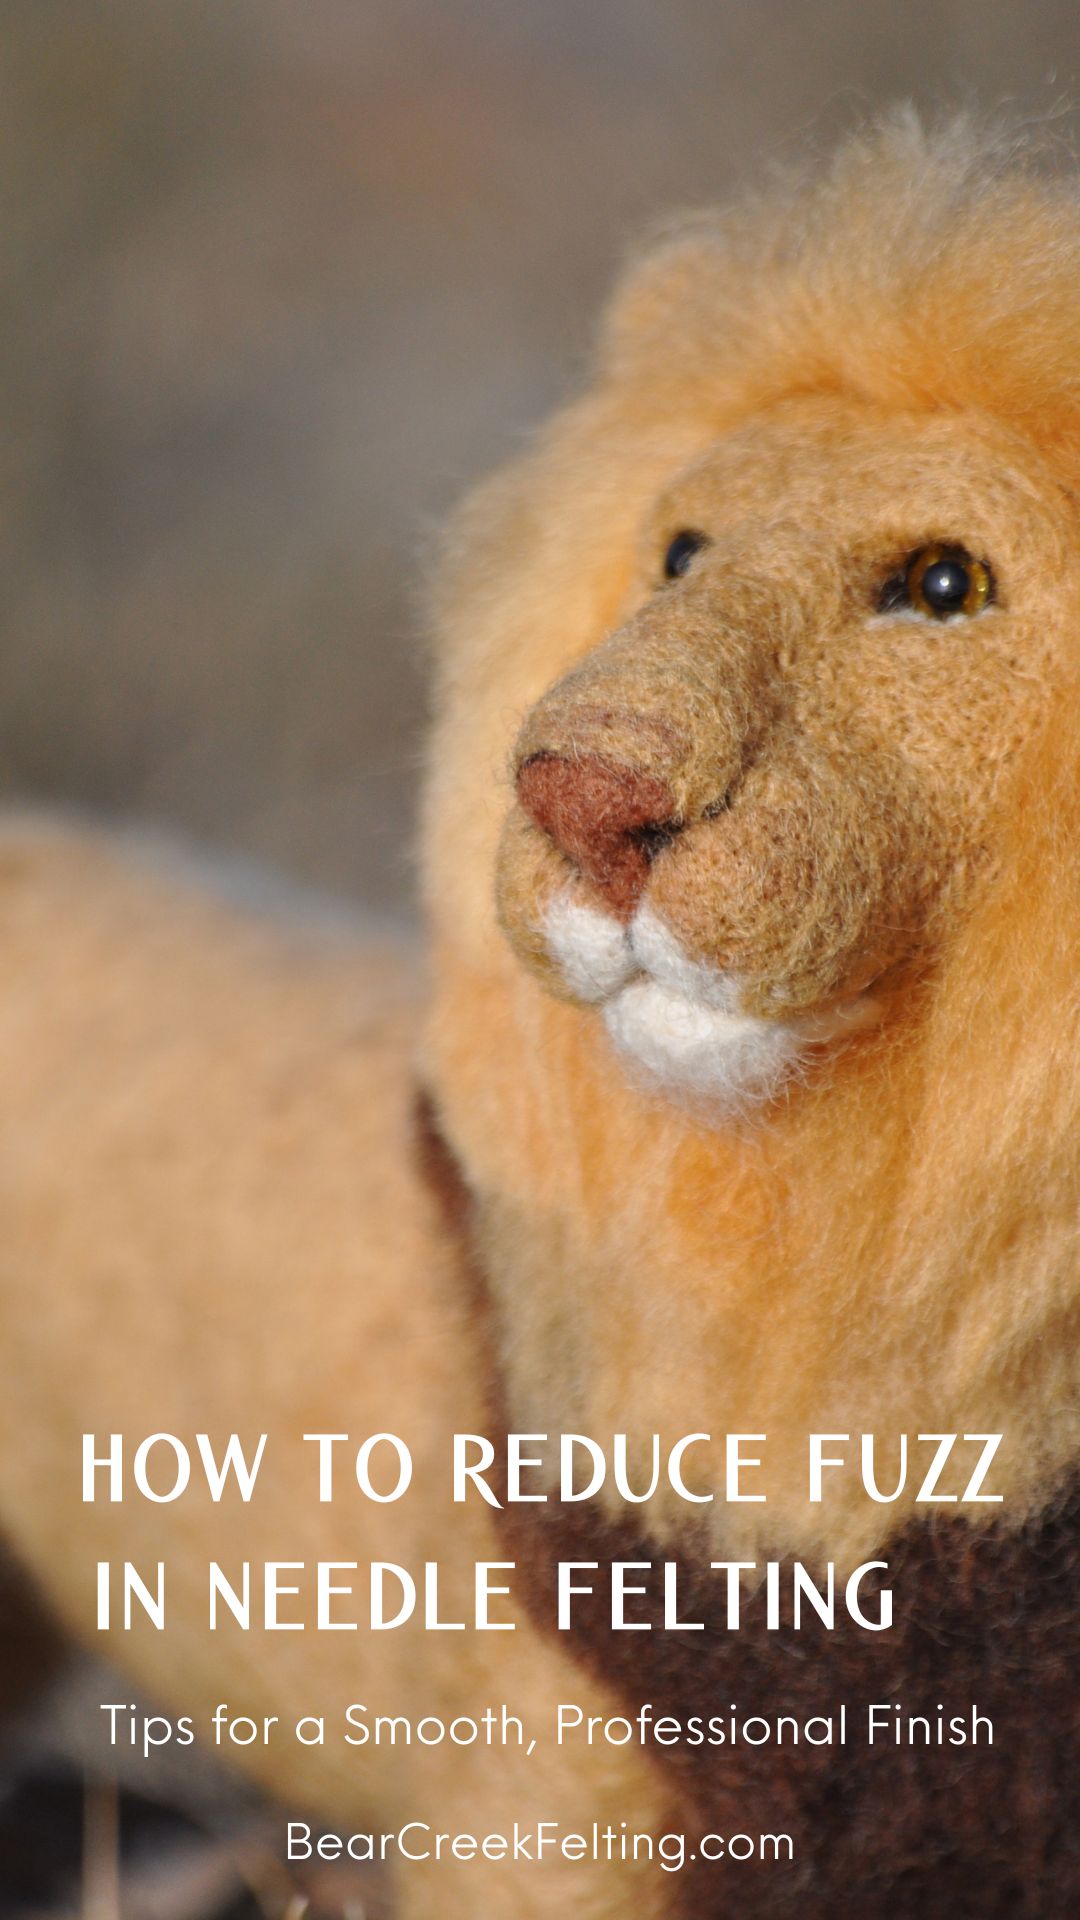
One of the most common questions I hear from beginner needle felters is how to make their projects less fuzzy or hairy. There are a lot of factors that go into your piece’s “fuzz factor.” Sometimes, you’ll want a fuzzy look. But if you want a nice smooth finish, you’ll need to look at your wool choice, needle, and technique.
Choose the Right Wool
Romney Wool is excellent for felting, which is why we include it in our beginner’s needle felting kit. I find that it gets dense and solid quickly with minimal fuzzies. Jacob Wool is also great, although I do have to spend a bit more time felting it to get it smooth. Icelandic Wool tends to have a lot of stray hairs that may require plucking or trimming. So, I almost always recommend the Romney Wool for a smooth finish.
Check Your Technique
The more air left inside your project, the more likely you are to get fuzzies. That’s because those extra hairs have nothing to cling to. Always try to make your wool as dense as possible from the start. When you’re finished, it should feel solid and not squish beneath your fingers. With practice, you’ll refine your felting technique and prevent fuzzies before they start! (I give lots of helpful pointers in my Needle Felting Academy.)
Experiment with Different Needle Sizes and Types
My go-to sizes are the 36 and 38, but it depends a lot on the type of wool and the overall shape of the project. Ideally, you see the wool getting denser and flatter within a few minutes of felting. Test your needle: if it’s too big, you’ll feel a lot of resistance. Too small, and you won’t feel that telltale “crunch” that your wool is actually felting.
At the end stage of your project, if you’re seeing too many fuzzies, try going down a needle size (a higher gauge) and lightly felting the surface to tuck in all those stray hairs. I often use the 36 to create the core shape then switch to the 38 gauge needles for finer work.
Trim the Fuzzies After You’re Done
No matter which type of wool or needle you use, your project may still be fuzzier than you’d like after you’re done. It’s all part of the fun of needle felting!
In a pinch, you can tweeze the fuzzies or use a small pair of thread snips to trim them off. This can be tedious — not to mention your hand will cramp — so I often recommend switching out your felting needle for a smaller size and going back over your project to see if that helps. If there are still fuzzies, it’s probably the type of wool you used. But don’t worry: you still have options.
If you’ve completely felted your piece and the surface is solid, you can actually use an electric shaver to remove the extra fuzzies. Of course, you’ll need to make sure your piece is felted as densely as you can get it. If it’s too soft, the razor will break the wool off, so be careful if you go this route. I’ve also heard of people using lint removers, which are a bit gentler than electric razors.
Try Some Needle Felting Tricks
A cool iron can also smooth out the fuzzies, but of course this only works on projects that have a flat shape.
Some people also spray their projects with a bit of glue diluted in water. I don’t find this method particularly effective, but if your project is a shape that can’t be wrapped or ironed, it may be helpful.
Wrapping Up
The more you practice, the firmer your projects will be from the start, which helps reduce that hairy finish. Again, I cannot speak highly enough of Romney wool. It always felts down quickly and leaves minimal fuzzies. But if your finished piece does end up with a fuzzy finish, I hope you find these tips helpful. Happy felting!