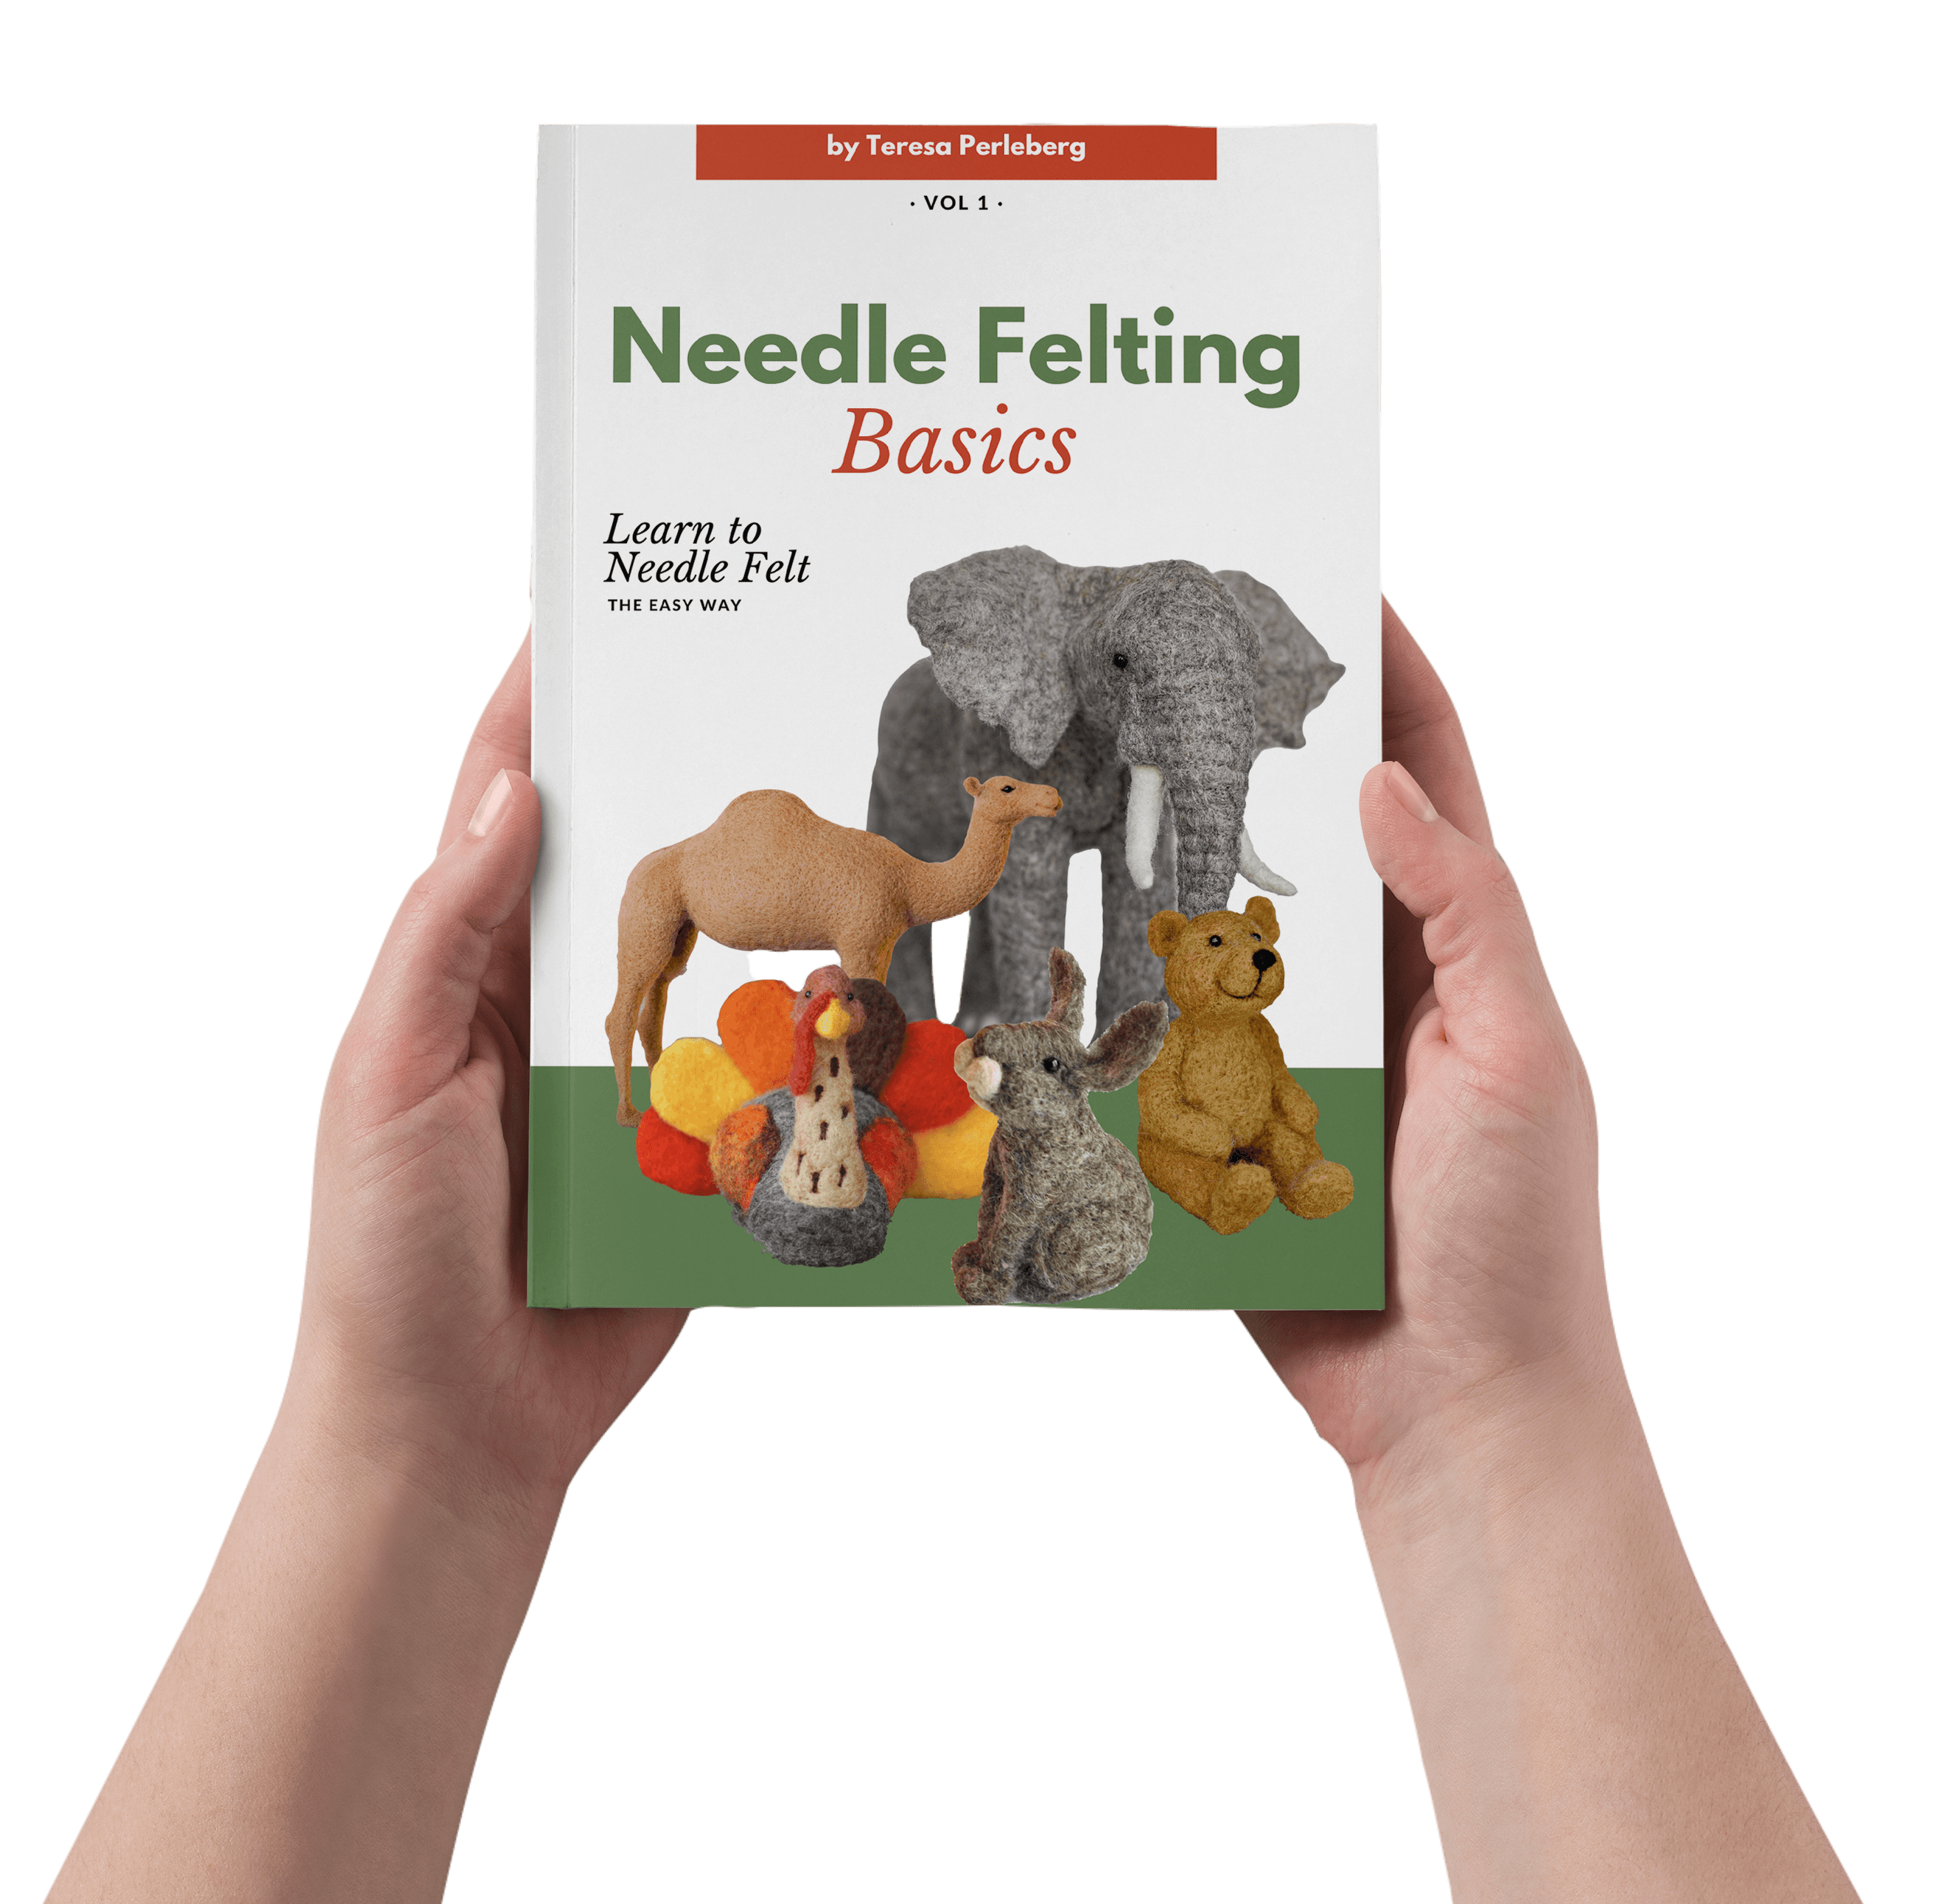
What is Needle Felting?
Needle felting is a creative craft that involves sculpting shapes and figures using wool and special felting needles. It’s a simple yet versatile technique that allows you to create amazing creations with just a few supplies. Let’s take a closer look at the key components of needle felting.
 The Wool
Wool is the primary material used in needle felting. Each wool fiber is covered in flat, overlapping scales, which, when agitated, come into contact with each other.This contact locks the fibers together, causing the wool to felt. The orientation and direction of the scales are random, ensuring a secure bond during the felting process.
The Felting Needles
Felting needles are unique tools designed with tiny barbs on the end. These barbs, aligned in one direction, play a crucial role in felting. When the needle is repeatedly stabbed into the wool, the barbs pull the wool in but prevent it from sliding back out. This action tangles the wool fibers and causes the scales to interlock, resulting in felting.
The Felting Cushion
A cushion or pad is essential for needle felting. It provides a surface to work on, allowing the felting needle to penetrate the wool without reaching the table or your leg. The cushion absorbs the needle’s impact, making the felting process smoother and more comfortable.

The Process
The Process: To start needle felting, roll up a small amount of wool and begin stabbing it with the felting needle. As you repeatedly stab and turn the wool, the needle pulls more wool into itself, and the fibers with their scales interlock and felt. With continued stabbing and turning, a firm round shape begins to form. Additional wool is added as needed to sculpt and shape the creation.

Felted 3D Sculpture
Creating a 3D sculpture through needle felting involves building upon a basic shape. Wool is added strategically to form the main body, while wire may be used in the legs for stability. The process often begins with the head, though sometimes it is made last. Achieving a smooth and firm texture is essential, especially when adding details such as spots. This meticulous process can take several days to complete, resulting in a stunning finished sculpture. A project like this takes several days to complete.
Wool
Various types of wool can be used in needle felting. Romney wool is a popular choice due to its firm felting properties, resulting in solid finished pieces. Merino wool is favored for its softness and is commonly used for flat felting. Wensleydale wool is known for its shiny curls, adding texture and character to creations. Experimenting with different types of wool can lead to exciting results. The Needle Felting Academy membership and sheep course provide access to a variety of wool types and guidance to help you find your favorites. My sheep course which is accessable through the Needle Felting Academy membership includes many different types of wool in the kit, to help you find your favorites right away. In 2016 I started felting through the sheep breeds where I share my experiences and thoughts on felting with all different types of wool.
Wet Felting
In addition to needle felting, some projects and kits may involve wet felting techniques. Wet felting utilizes hot soapy water instead of needles. By rubbing and agitating the wool fiber with water, it tangles and locks together. This technique is often used for flat felting, resulting in smooth and versatile felted fabric. Detailed instructions, pictures, videos, and personal guidance are available through our Needle Felting Academy and kits.
What is roving?
Roving refers to wool that has been washed and carded, aligning all the fibers in the same direction. Carding involves combing the wool to smooth out the locks and create a long, fluffy “roving” that can be spun into yarn or used for felting. Hand-painted roving is a visually appealing option for needle felting projects.
For more information on carding and how our wool is processed in our very own mill check out this video.

Learn to Needle Felt the Easy Way!


Join the Bear Creek Needle Felting Academy today!


A short video of a needle felting work in progress.
Free Needle Felting Basics ebook

Check Out The Bear Creek Needle Felting Academy

No matter where you are in your needle felting journey—whether you’re a beginner taking your first steps or a seasoned artist seeking to enhance your skills—if you aspire to create awe-inspiring sculptures that exude character and personality, then the Bear Creek Needle Felting Academy is the perfect fit for you.
Within the Academy, you’ll find exclusive access to unparalleled training, unwavering support, constructive feedback, and valuable advice. These invaluable resources will empower you to elevate your needle felting to new heights, surpassing your current abilities and achieving remarkable results.

Crafting Tranquility: Rediscovering Needle Felting’s Healing Power Amidst Life’s Chaos
Hello, dear readers, I'm delighted to share a deeper layer of my journey with you today. This isn't just about the remarkable stress-relieving benefits of needle felting – it's also about resilience, transformation, and the undeniable power of creativity. In the...

Crafting Tranquility: How Needle Felting Became My Sanctuary for Stress Relief
Today, I want to delve into a topic that holds a special place in my heart: the incredible benefits of needle felting for alleviating stress and fostering a peaceful state of mind. Inspired by an enlightening article from Psychology Today, titled "Working Your Hands...

You’re More Likely to Succeed If You Enjoy the Process
Have you ever started a craft project, only to give up halfway through because it wasn't as fun as you thought it would be? If so, you're not alone. Many people find that they're more likely to succeed in a craft if they enjoy the process of creating. This is...